Showing posts with label DIY beauty. Show all posts

Tuesday, April 28, 2015

Fabulous Tip of the Day: DIY Scalp Treatment

Today's Fab Tip:

This is a great DIY hair rinse when you have lots of product buildup preventing your hair's natural shine from showing. Just wash your hair as normal and then do the following:

"Add shine with club soda. Pour it on the scalp and let it drip to the ends right after you wash, says celeb stylist Ryan Nickulas. The bubbles remove the product buildup that dulls strands."
--Taken from People Style Watch magazine, May 2015, page 155.

Like I said, simple and a great substitute when you don't have a clarifying shampoo available. Enjoy your shiny locks!

XOXO
Gossip Ghoul

Wednesday, April 22, 2015

Fabulous Tip of the Day: DIY Tinted Sunscreen

Today's Fab Tip:

It's starting to get warmer, which means spending more time outside, yay fun! But that also means needing to wear a higher SPF and reapplying sunscreen more frequently (not as fun). Here's a tip by makeup artist Carmindy, formerly of What Not To Wear, from the archives to keep your sunscreen from whitening your skin a little too much:

"Tint your SPF: It can sometimes look too white on skin. To nix the Casper cast, mix in a drop of foundation before applying."
-- Carmindy in Cosmopolitan magazine, April 2010, page 75.

There you are: a DIY way to give your face protection and minimal coverage without adding too many layers. Perfect for these days when the humidity is rising. Replace the foundation with BB cream for added moisture and benefits.

XOXO
Gossip Ghoul

Friday, March 20, 2015

Fabulous Tip Of The Day: DIY Condition Your Brows

Today's Fab Tip:

Unless you've been living under a rock for the past few years, you must have noticed that bold, full, Cara Delevingne-esque eyebrows are in right now. After years of overplucking, it can take a bit of time for brows to grow in enough to to look full. Brow hairs are just like any other hair and need conditioner.

"If you're trying to grow out your brows, mix castor and coconut oils to apply before bed. They contain proteins and vitamins that nourish hair follicles and promote growth."
-- eyebrow specialist Maral Balian in Starmagazine March 16, 2015, p. 55.

Apply this serum to your brows at night, and then fill in your brows with a pencil or powder to give them a naturally fuller look by day, and you'll have fabulous brows in no time.

XOXO
Gossip Ghoul

Thursday, August 15, 2013

Fabulous Tip of the Day: DIY Lipstick Color

Today's Fab Tip comes from one of the most renowned makeup artists out there, Bobbi Brown.

"Use eyeshadow and lip balm to create a matte lipstick. Watch out, though, when choosing your shadow color -- most are too gray or brown."
-- Taken from Bobbi Brown Teenage Beauty by Bobbi Brown, page 57.

This is a great way to rock vampy burgundy lips or peachy-orange lips, and it's a good method to try out a new lip color without committing to buying a new lipstick.

XOXO
Gossip Ghoul.

DIY Makeup Remover Wipes

Picture from Ulta.com
In case you haven't been paying any attention at all, I love makeup. I love looking at makeup. I love buying makeup. I love putting on makeup. I love wearing makeup. What I don't love so much is taking it off. Makeup remover wipes are expensive, and they never seem to get everything completely off. When I saw that Beautylish had their own how to on making one's own makeup remover wipes, I knew I had to try it out. Thus follows my attempt at following their tutorial...


Things needed:
  • 2 cups water (I used Smartwater. Really. Since it's going on my face, I didn't want to use tap water.)
  • 2 tablespoons coconut oil (a DIY beauty staple)
  • about 2 squirts Burt's Bees Tear-Free Baby Wash
  • paper towels
  • tall container with a lid that seals
  • microwaveable bowl that's deep enough to stir in without splashing
  • utility knife


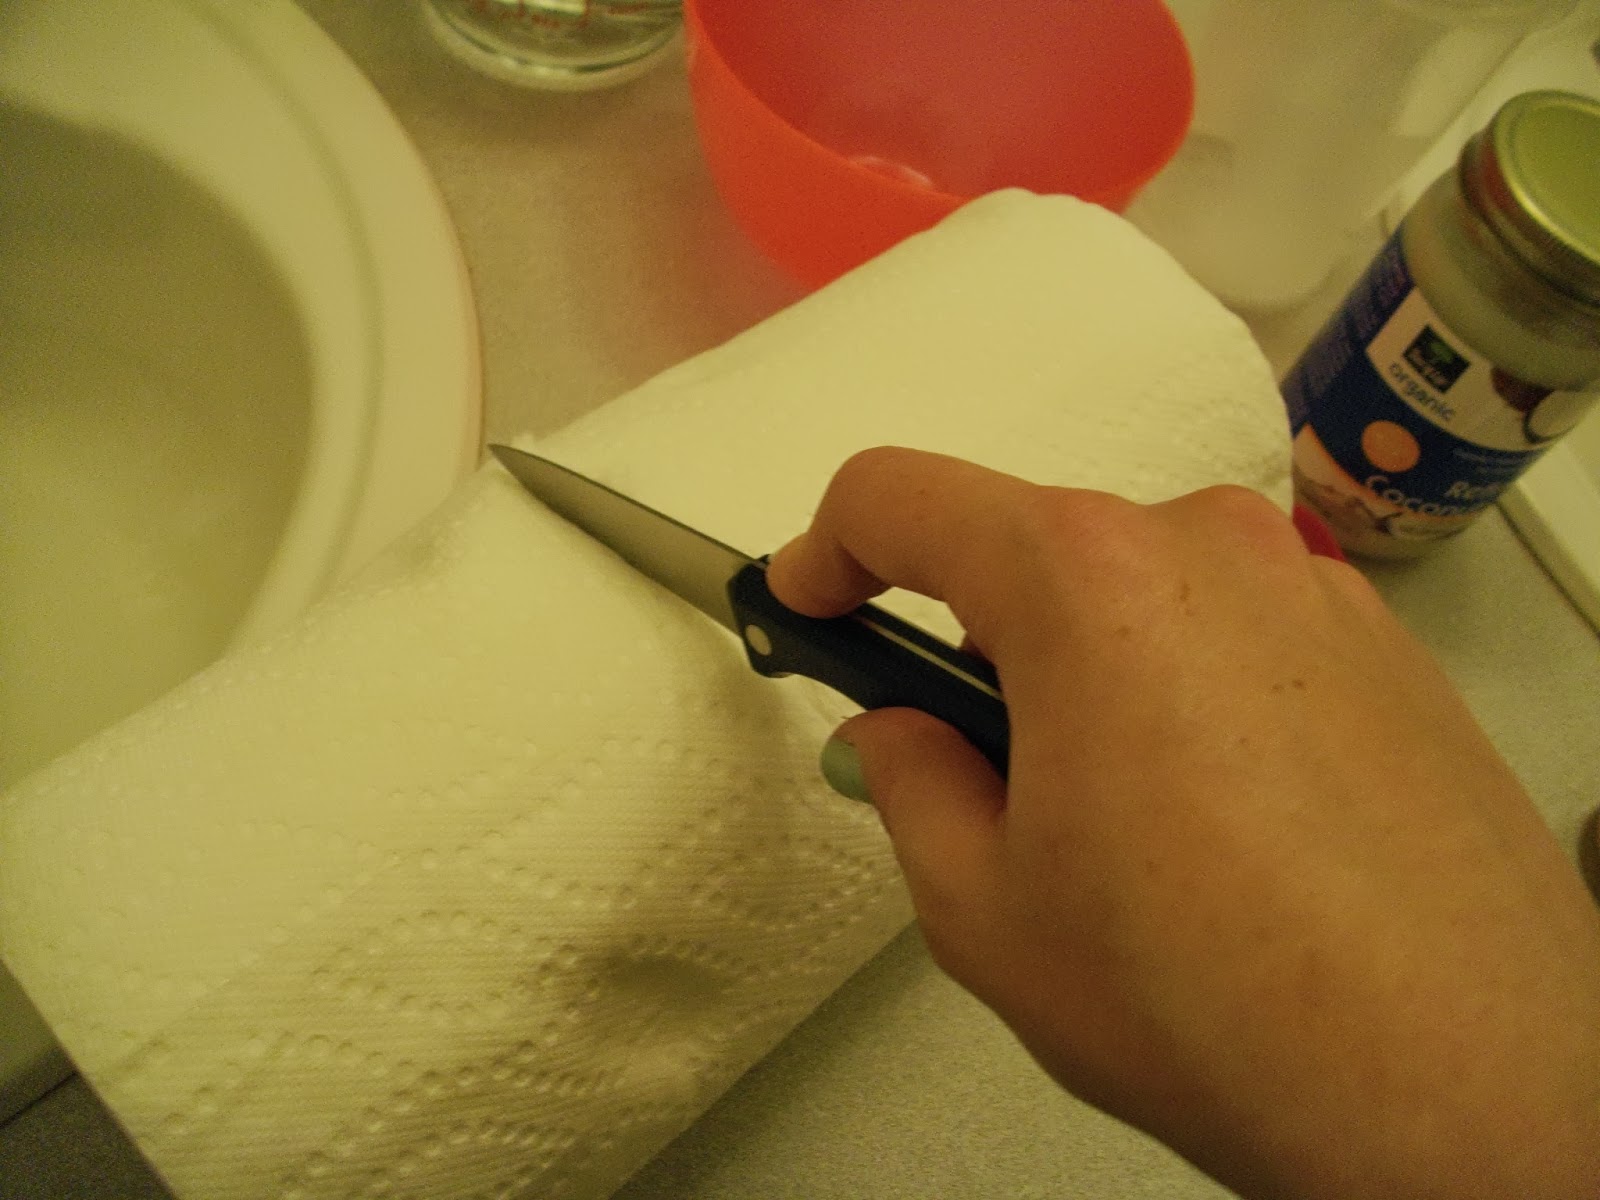
First of all, you want to cut the paper towel roll in approximately half. My container could only fit slightly less than half, so make sure you measure before you cut.
I had a very difficult time cutting through with my paring knife, so I borrowed a roommate's bread knife and tried to saw through. It was a mistake to use a serrated knife because little pieces of paper towel went everywhere, and it was still very hard to cut through.
Not very pretty, is it?
Then you want to remove all the excess paper towels so that the roll is thin enough to fit inside the container. Don't throw out the extra paper towels, of course; just use smaller pieces.


 Next, measure out two tablespoons of coconut oil into a microwaveable bowl.
Pour in two cups of water.
Then add two squirts of tear-free baby shampoo. If you're putting these things on your eyes, gentle and tear-free sounds like the safest way to go to me.

Mix it up. I couldn't get all the chunks of coconut oil to dissolve, so I popped in the microwave and stirred again.
I ended up microwaving it for nearly two minutes in twenty-second increments. Keep a close eye on it. You don't want it to boil or get too hot. You just want the coconut oil to melt just enough to mix in well.
Put the paper towels in the container, and then pour in the warm oil-shampoo-water mixture all over. Let it soak, and pull out the cardboard tube from the center.
Seal on the lid. Every time you need to remove your makeup, take off the lid; grab a wipe; and gently swipe it across your face.

I will warn you, though: some of the coconut oil solidified again. It's a bit more moisturizing, that way, though. My biggest problem is that the paper towels I used are too thin and drippy. I end up using three or four wipes each time. My advice, therefore, is to the get the thickest, most absorbent and high-quality paper towels you can find. I also recommend using a different makeup remover for the eyes because I have a hard time getting off mascara and liquid eyeliner with these. For everything else, though, this works well. Just make sure to cleanse, rinse, tone, treat, and moisturize afterward.

Enjoy!

XOXO
Gossip Ghoul.

Thursday, August 8, 2013

DIY Sea Salt Spray

I'm excited to introduce a new feature on the Gossip Ghoul Blog: DIY Thursdays! In other words, I am devoted Thursdays to tutorials, how to's, and reviews of DIY projects (DIY means Do It Yourself for those of you who don't know). There are a lot of fun DIY projects out there online, and I've been trying them out to see which ones actually work or are worth the time and effort.

Picture from Sephora.com

My first project is DIY Sea Salt Texture Spray. For summertime hairstyles, textured, beachy waves are one of the most fun (think Gisele), and salt sprays or surf sprays are an essential part of that. The product with the biggest following is Bumble and Bumble's Surf Spray, but that's rather out of my price range for a hair product. A homemade option is a lot more affordable. There are a ton of different recipes for sprays at different blogs and beauty sites, but the one from The Beauty Department seemed to me to be the best, easiest, and most affordable option, since I had most of the ingredients already. Thus follows my attempt at recreating their sea salt spray.

Here's what you need:
  • an empty plastic spray bottle
  • 1 cup hot water
  • a tiny dab of water-based pomade (I used Got 2b's Playful Weightless Creme Pomade, since it's made for adding texture.)
  • 1 teaspoon fine sea salt (Just a note: it must be sea salt! Table salt will not work!)
  • 1 teaspoon coconut oil
  • 3 drops argan oil
  • 2 tablespoons leave-in conditioner


First, unscrew the lid of the bottle, and pour the water in.


Next, add the pomade. The Beauty Department says to use a "nickel-sized dab." Just make sure to use one that is water-based, or it won't dissolve.

Third, pour in the sea salt. Be sure to use fine sea salt, since coarse-ground salt will have a harder time dissolving.

Then, add the coconut oil and three drops of argan oil. These, along with the conditioner, will act as a moisturizer and prevent the sea salt from drying out your hair too much.


The next step is to put the lid back on and then shake up all the ingredients so far to dissolve everything. Then add in the leave-in conditioner and shake again.

Voila, you now have your own texturizing surf spray. I've been having a lot of fun with mine. I do Wednesday Addams braids most mornings, and I scrunch in some surf spray with my fingers to damp hair so that when I take out my braids, I have effortless beachy waves. Easy and fun! Tell me how it works out for you in the comments.

XOXO
Gossip Ghoul.

Friday, August 2, 2013

Fabulous Tip of the Day: Easy Spa Treatment

Today's Fabulous Tip of the Day:

"In the shower, buff skin with a handful of regular white sugar -- it's an inexpensive and amazing face and body scrub. To help erase self-tanning streaks, add a teaspoon of lemon juice."
-- taken from The 5 Minute Face by Carmindy, page 15.

Sometimes I use coarse raw sugar instead. Just be sure not to use the lemon juice if you'll be spending time in the sun immediately afterward, since the bleaching effect of lemon juice can make your skin more sensitive to the sun.

XOXO
Gossip Ghoul.